See for more themes.
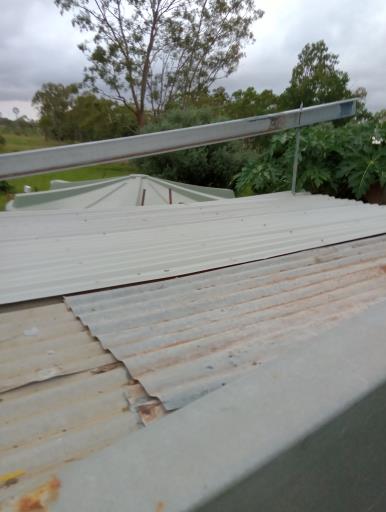
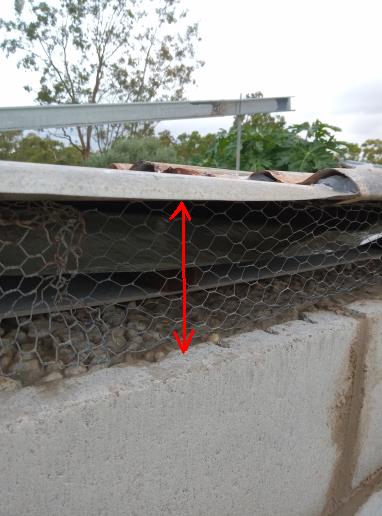
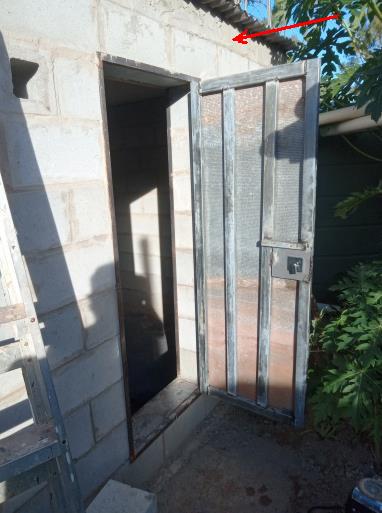
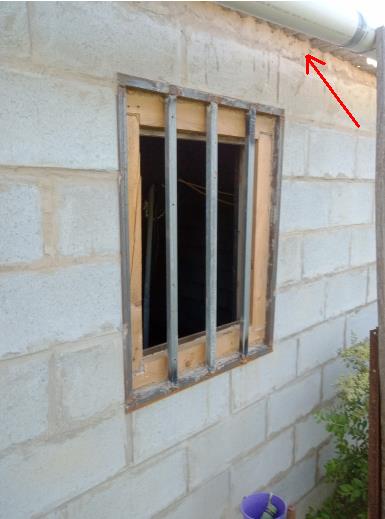
 | Q4: Off Grid - roof and final touches Add rafters. I used the following rafter sizes I did this by adding beams onto beams and bolting them together. This made a shallow pitched roof, cheap, with second hand roofing sheets. On the corner are threaded bolts with concrete locking the top bond beams to the bottom bond beams. Poking through the roof are these thread rods holding down steel pipes and solar frame purlins, on an angle for the sun (23 degrees roughly). The bottom of the top bond beams are placed on chicken wire, to stop concrete poured into all cavities of the walls, the four corners are left for concrete to run down the entire channel, encasing the 12mm threaded rod in concrete. It takes almost a wheelbarrow load of concrete to fill a corner post, before moving along the top bond beam channel.
Created by Rob Thompson. Hosted since 10/01/2012. Visitors HOSTED by Prologic, my Son. A thin website. |